DIY Smart Irrigation: A Step-by-Step Guide for Beginners


Creating a smart irrigation system for your garden can be a rewarding DIY project that saves water and ensures your plants thrive. With a few tools and some basic knowledge, you can set up an efficient system that takes the guesswork out of watering.
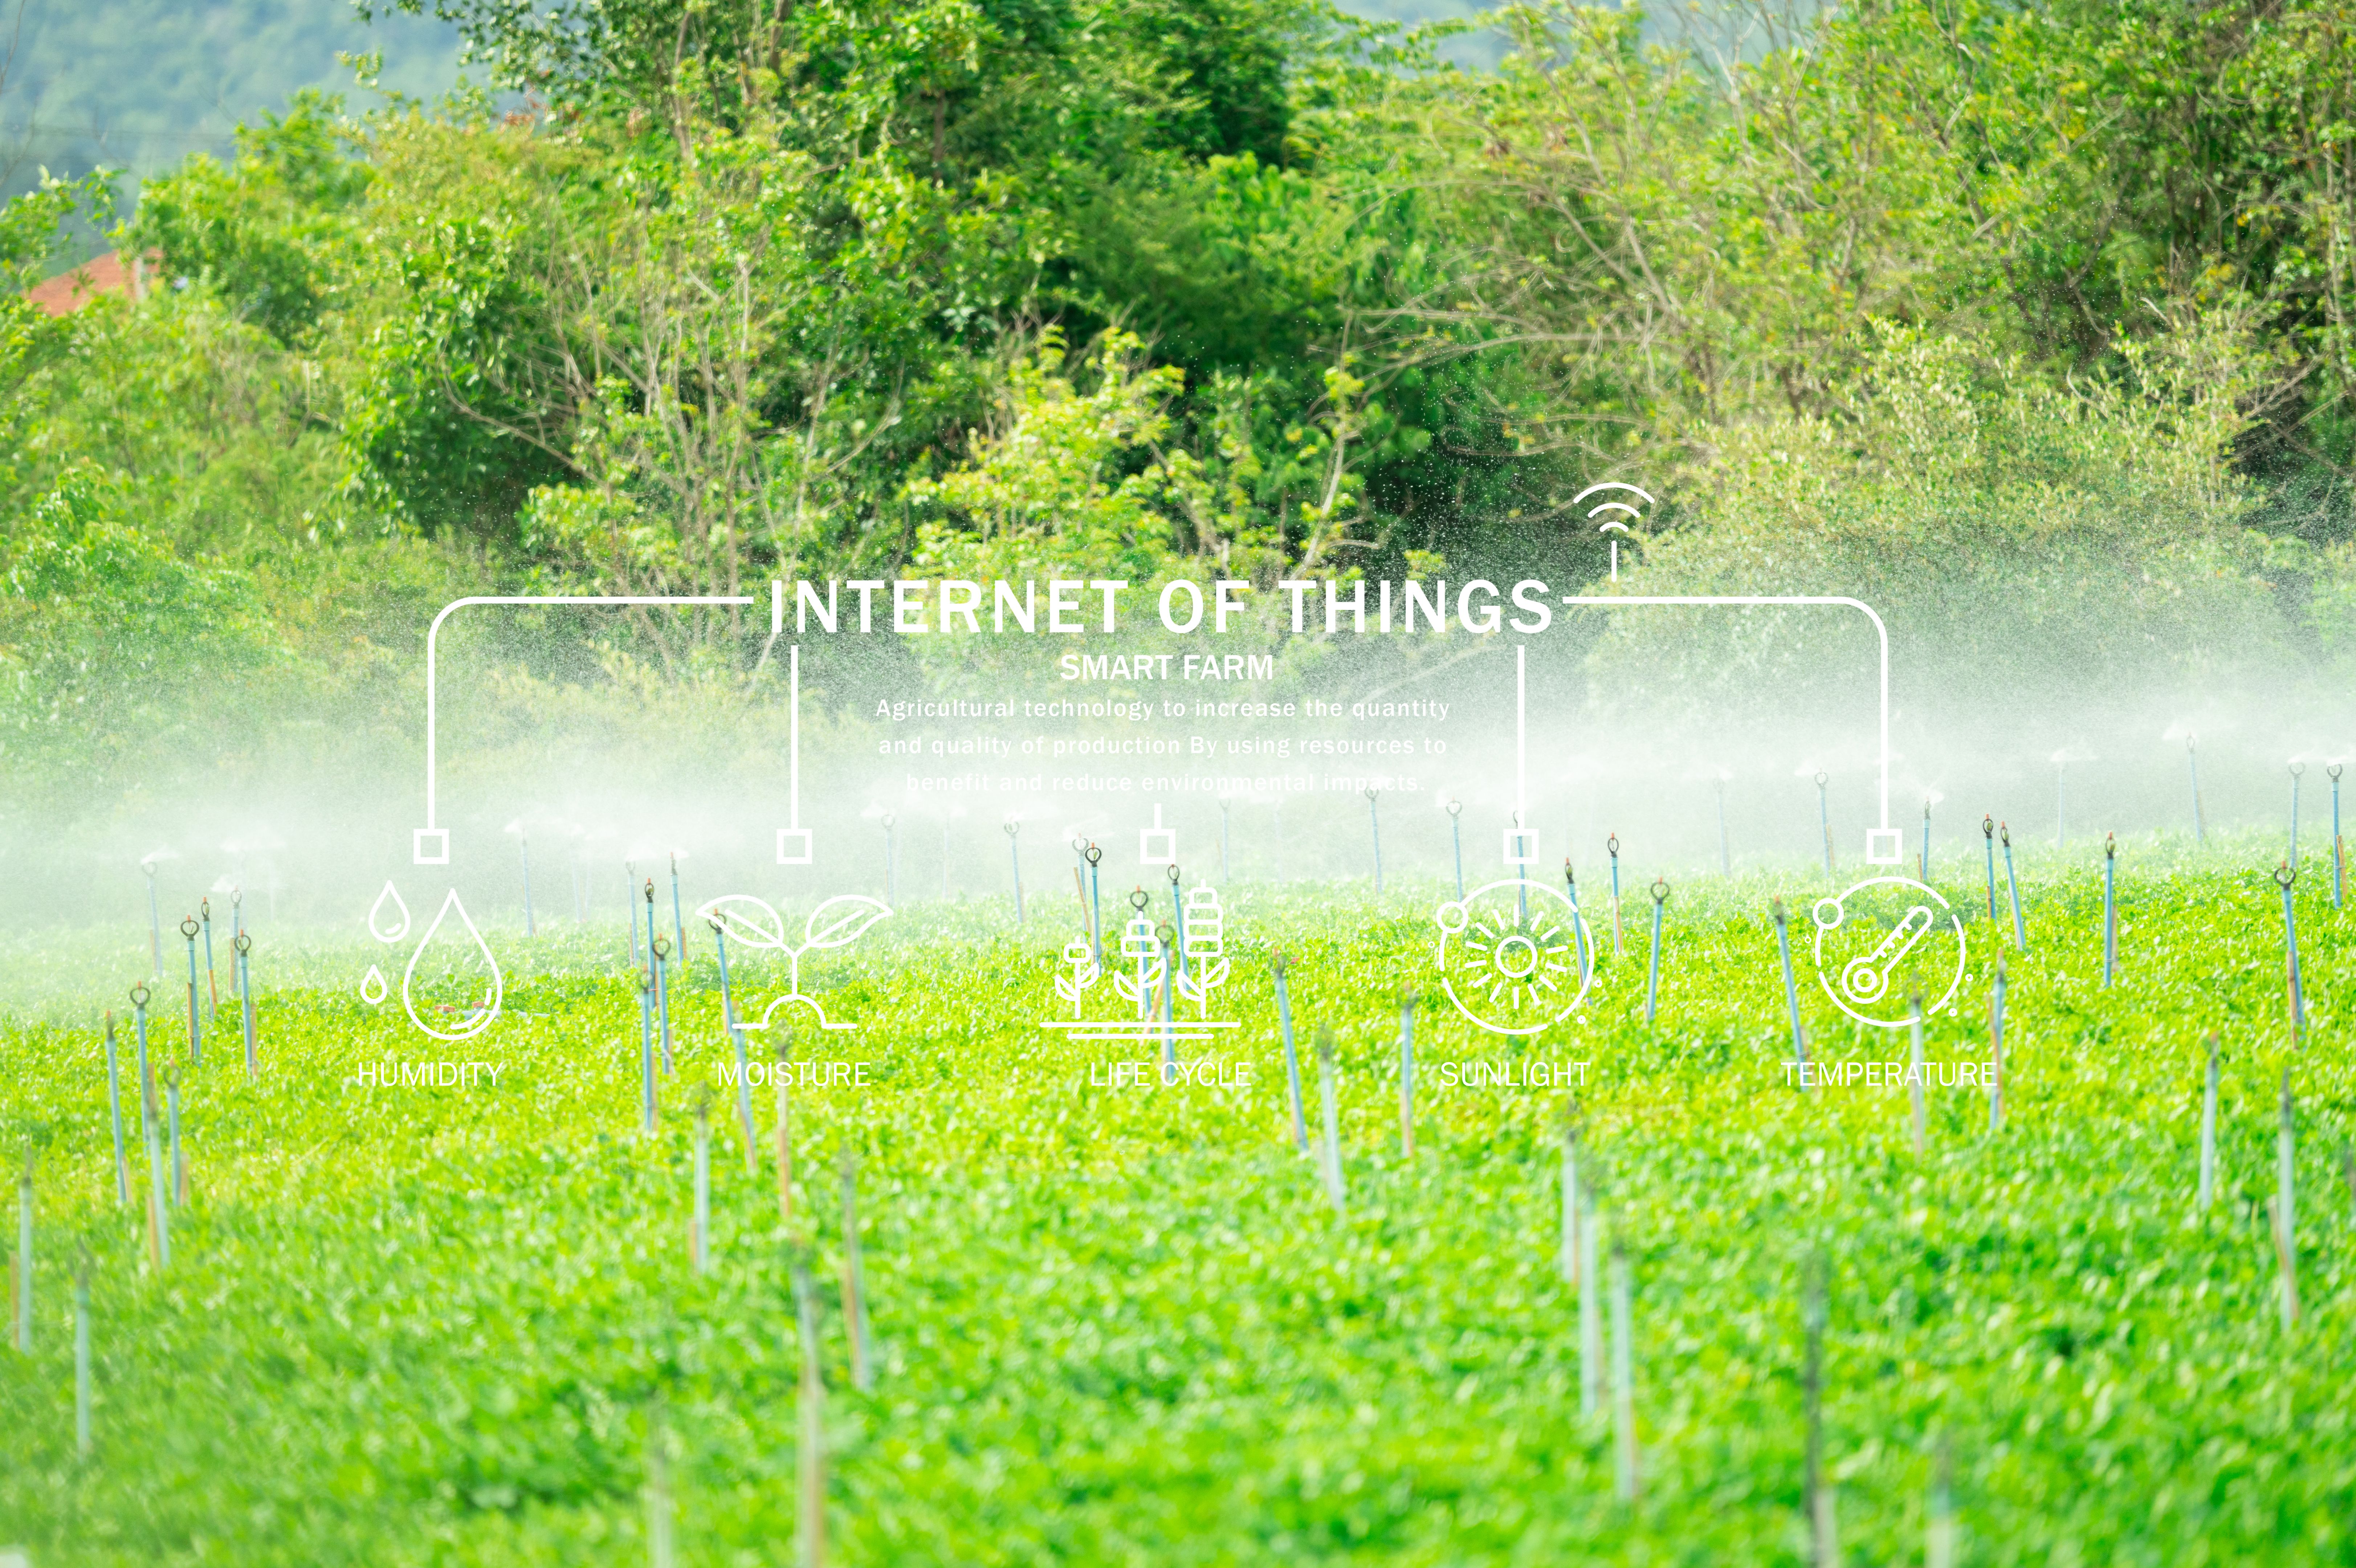
Understanding Smart Irrigation
Smart irrigation systems use technology to automate watering based on weather conditions, soil moisture, and plant needs. These systems can significantly reduce water usage by delivering the right amount of water at the right time.
By integrating sensors and controllers, you can monitor and adjust watering schedules remotely, ensuring your plants receive optimal care without overwatering. This not only conserves water but also promotes healthier plant growth.
Gathering Your Materials
Before you start, gather the essential materials. Here’s a list of what you’ll need:
- Smart irrigation controller
- Soil moisture sensors
- Sprinklers or drip irrigation lines
- Water hoses and connectors
- Smartphone or tablet for app control
Ensure that your controller is compatible with your smartphone and can connect to your home Wi-Fi. This will allow you to manage the system from anywhere.
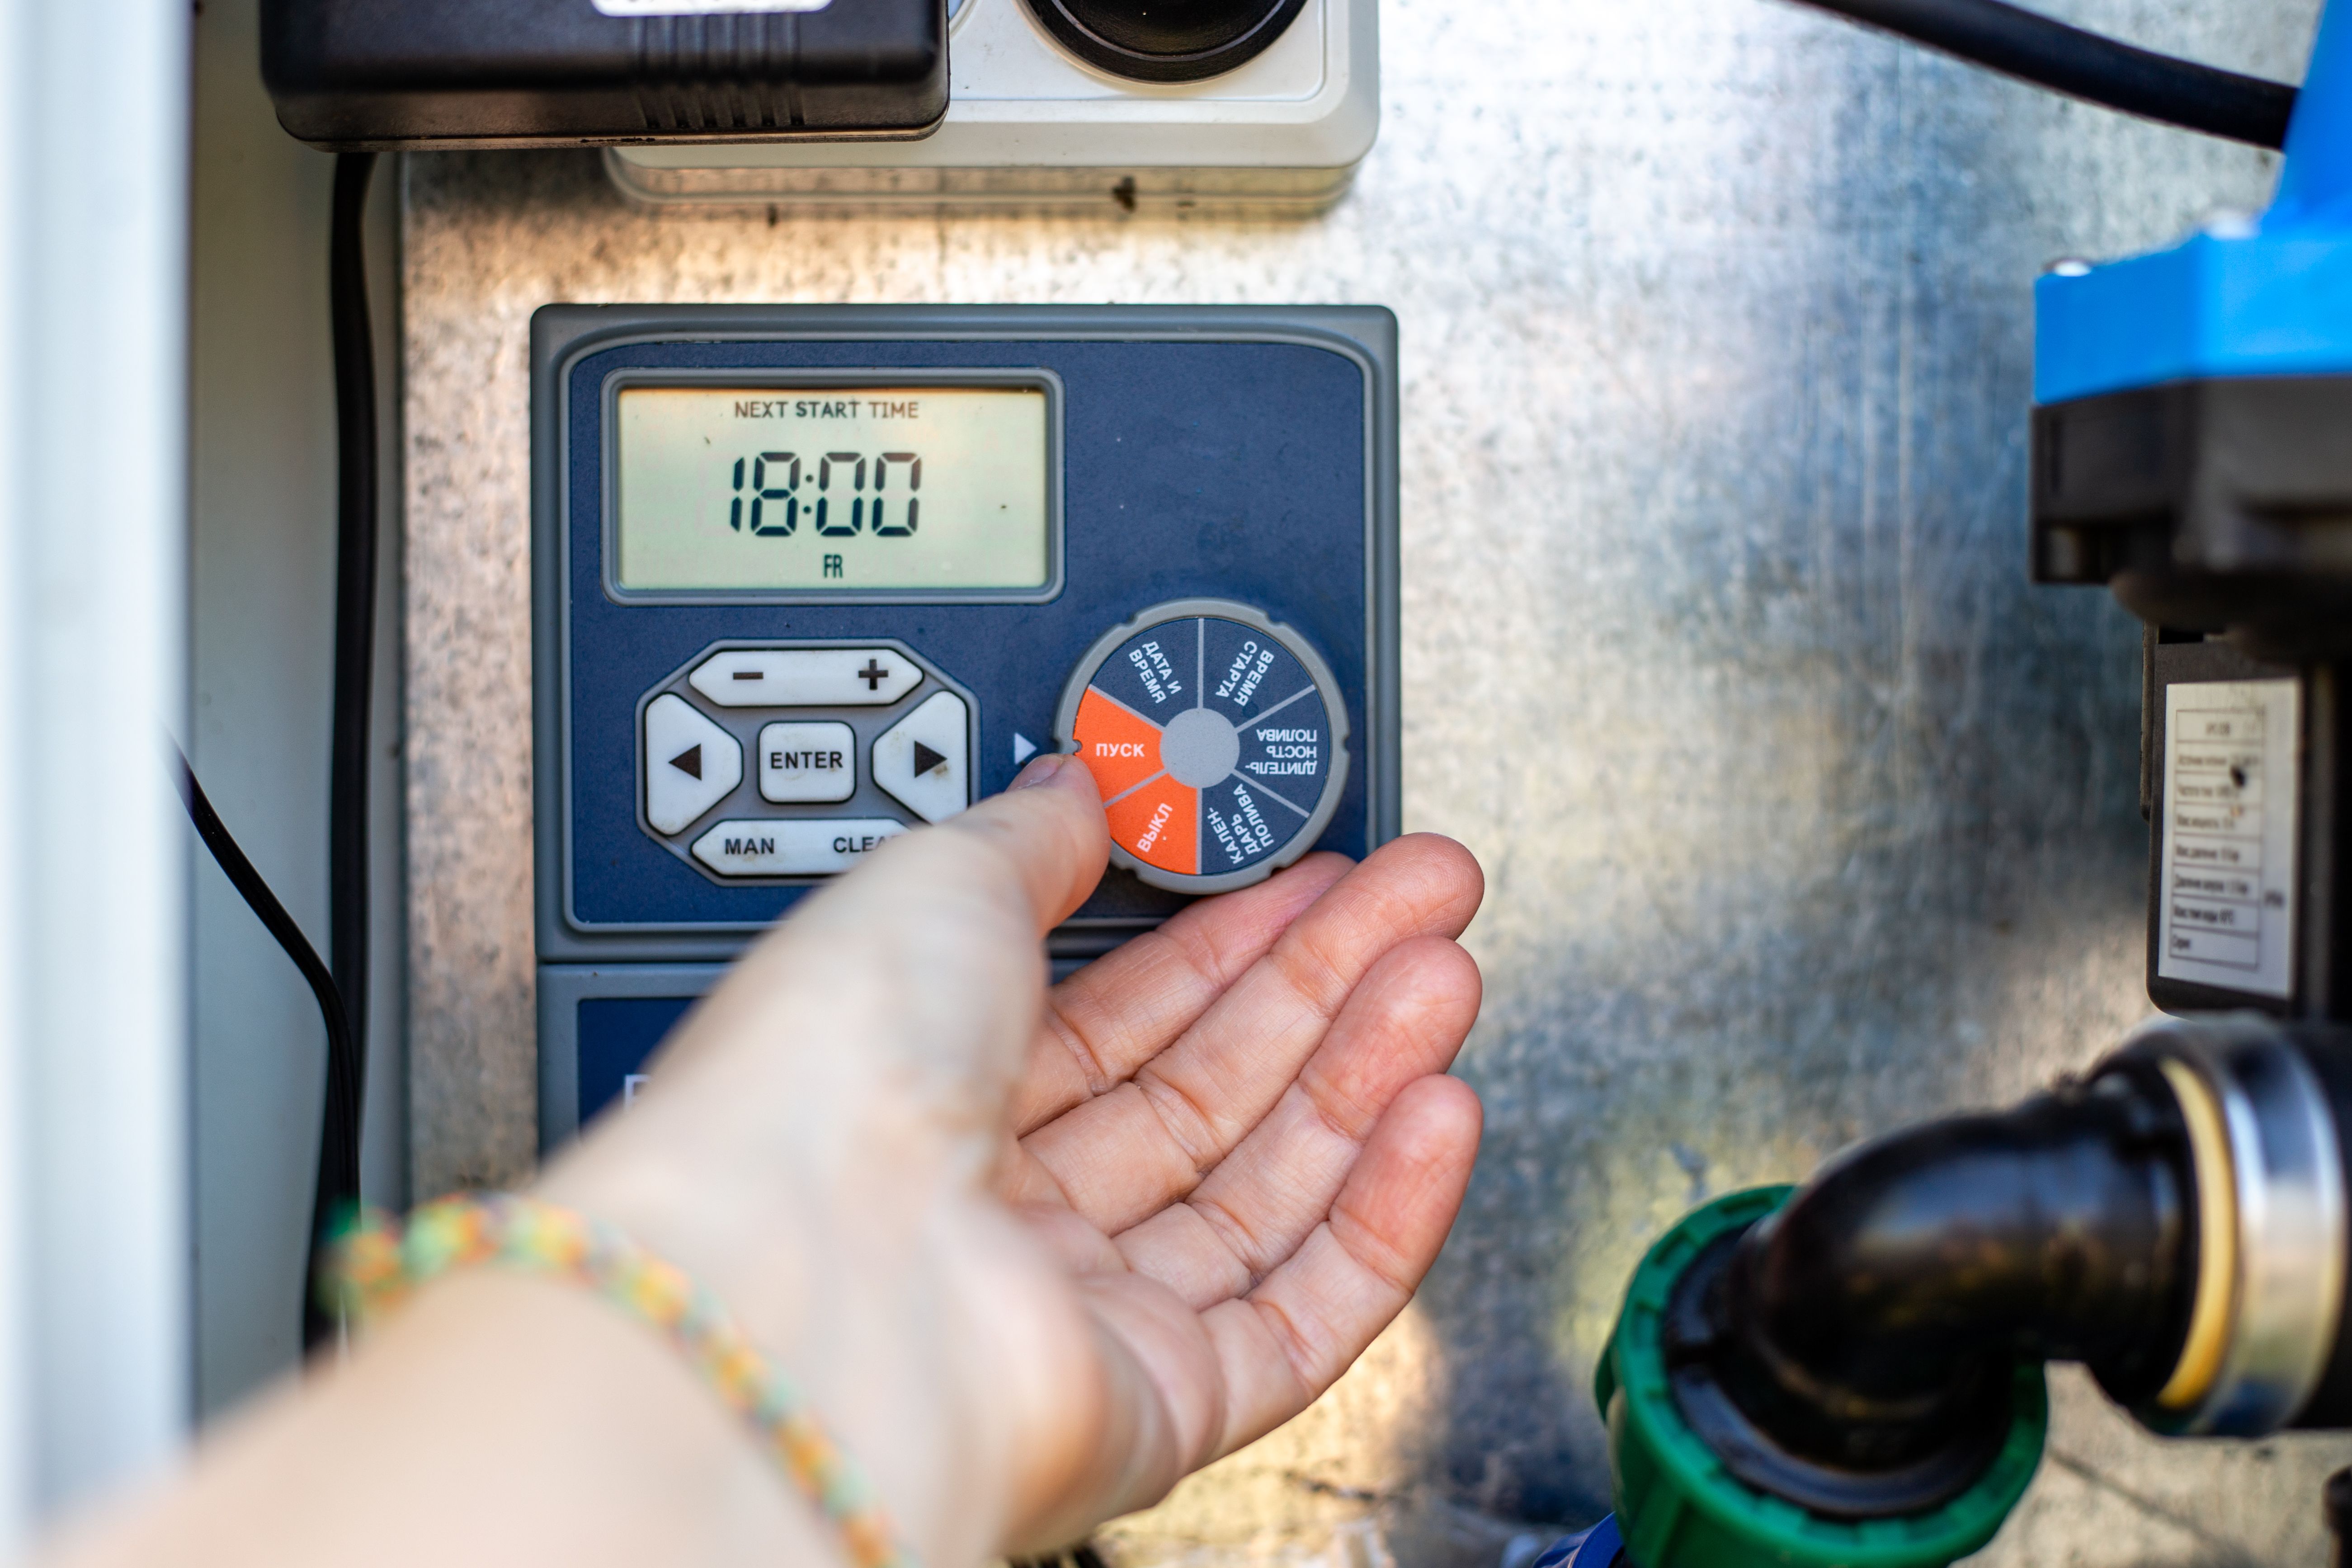
Setting Up the Controller
The first step in setting up your system is installing the smart irrigation controller. Follow these steps:
- Choose a location near your water source and power outlet.
- Mount the controller according to the manufacturer's instructions.
- Connect it to your Wi-Fi network and download the accompanying app.
- Follow the app's setup guide to configure your zones and schedules.
Installing Soil Moisture Sensors
Soil moisture sensors are crucial for monitoring the water needs of your plants. Here's how to install them:
- Identify the areas where moisture measurement is essential.
- Insert the sensors into the soil at root level, ensuring they are not obstructed by stones or roots.
- Connect the sensors to the controller as per the instructions.
These sensors will provide real-time data to adjust watering schedules automatically based on soil moisture levels.
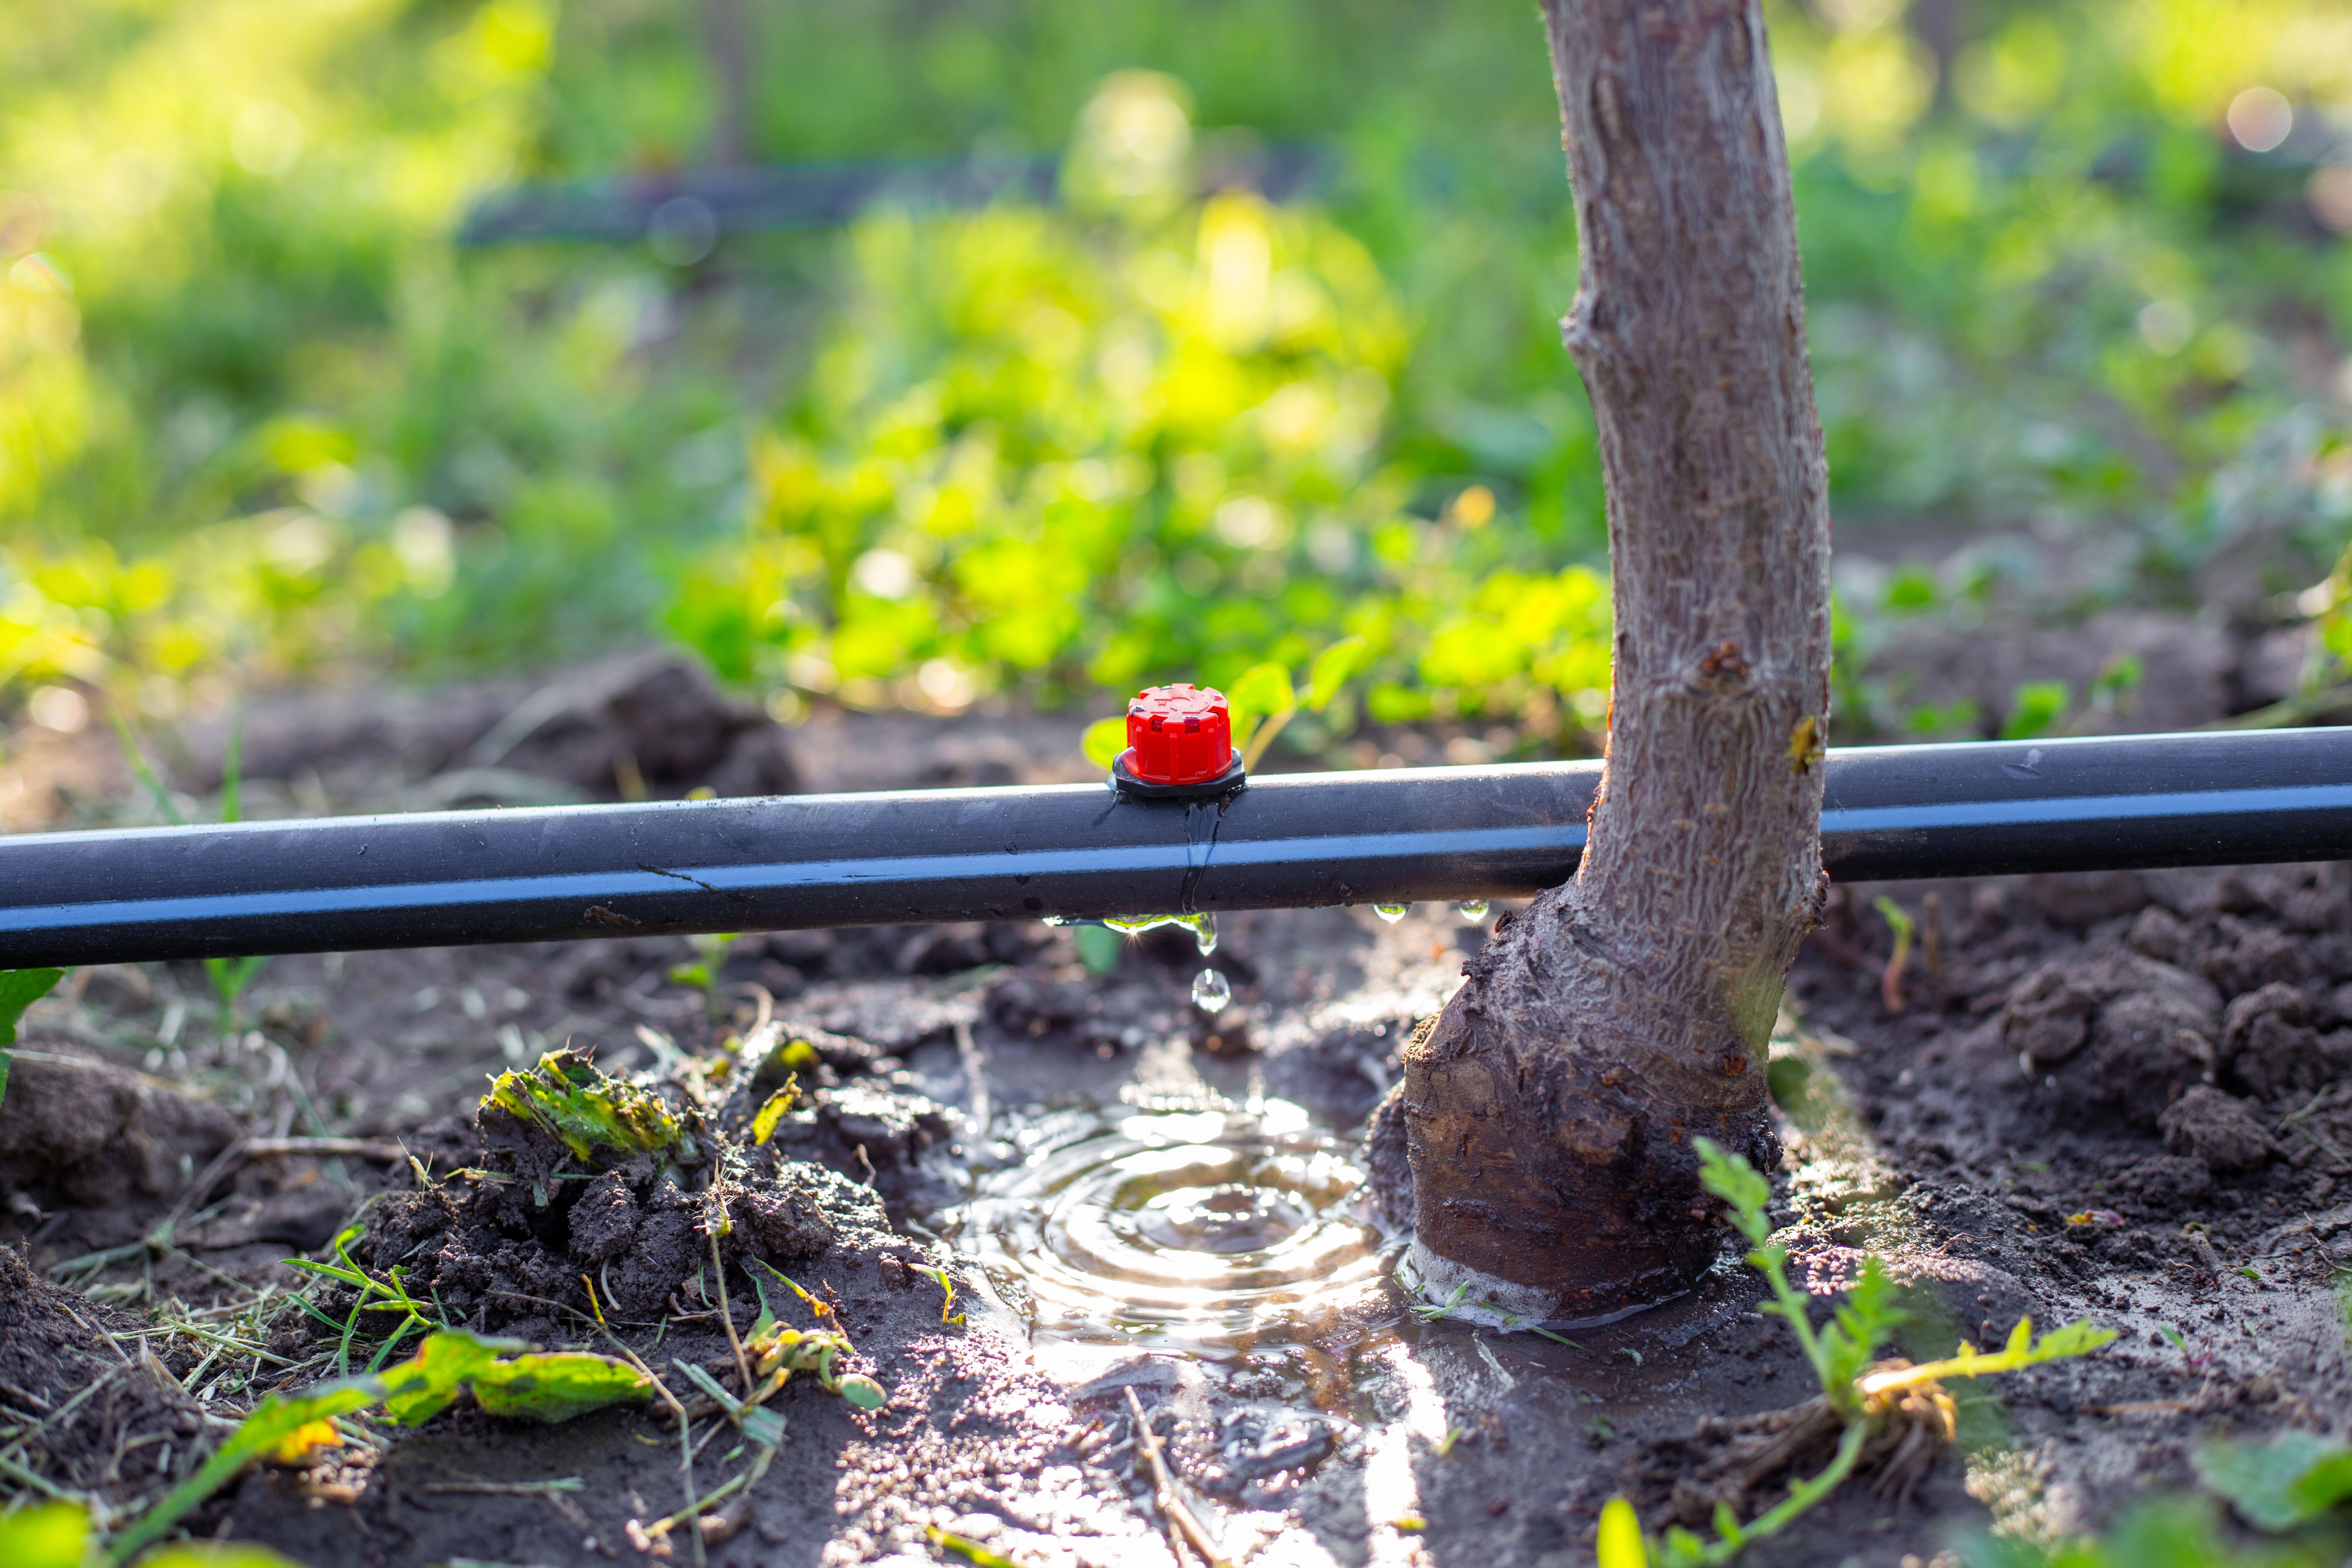
Connecting Sprinklers and Drip Lines
Now, it's time to install your sprinklers or drip lines. These should be strategically placed to cover all areas of your garden. Follow these steps:
- Lay out the hoses and connect them to the water source.
- Attach sprinklers or drip emitters where needed.
- Test the system to ensure even water distribution.
Testing and Fine-Tuning
Once everything is connected, it's crucial to test the system. Run a test cycle to check for leaks, blockages, or uneven coverage. Adjust the placement of sprinklers or emitters as needed.
Use the app to monitor sensor feedback and tailor your watering schedule. Make adjustments based on weather forecasts and seasonal changes to maximize efficiency.
Maintaining Your Smart Irrigation System
Regular maintenance will keep your system running smoothly. Check connections, clean filters, and replace worn parts as necessary. Keeping the system updated with the latest software will also enhance its capabilities.
By investing a little time in setting up a DIY smart irrigation system, you can enjoy a lush, healthy garden with minimal effort and water usage. Happy gardening!